


Hidden Filters to Clean on Your Dyson Handheld Stick Vacuum
Keeping your Dyson vacuum cleaner's filters clean is vital for getting the best performance out of your vacuum cleaner. However, even if you're already cleaning your filters regularly, you may have missed some important parts! That's why, in this article, we're going to guide you through the hidden filters to clean on your Dyson handheld stick vacuum so you can keep your appliance running as optimally as possible.
What you will need:
- Small screwdriver
- Flat blade screwdriver
- A dry brush
Hidden filters to clean on your Dyson handheld stick vacuum
To learn about the hidden filters and filter parts that require cleaning on your Dyson handheld stick vacuum, check out our video below or read our guide beneath.
The main filter
Step 1: Access the inside of the main filter
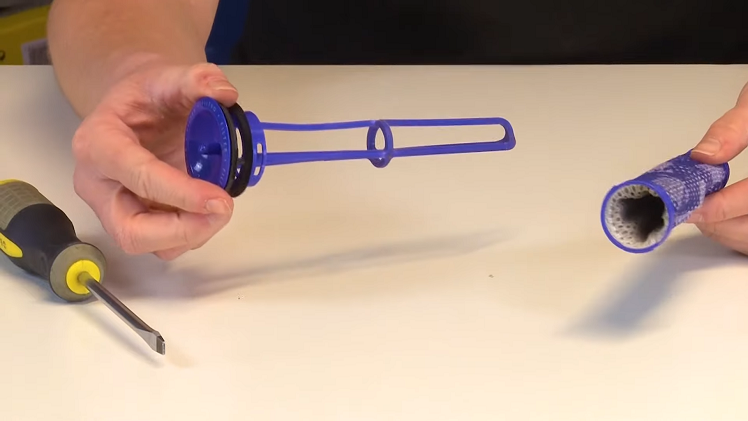
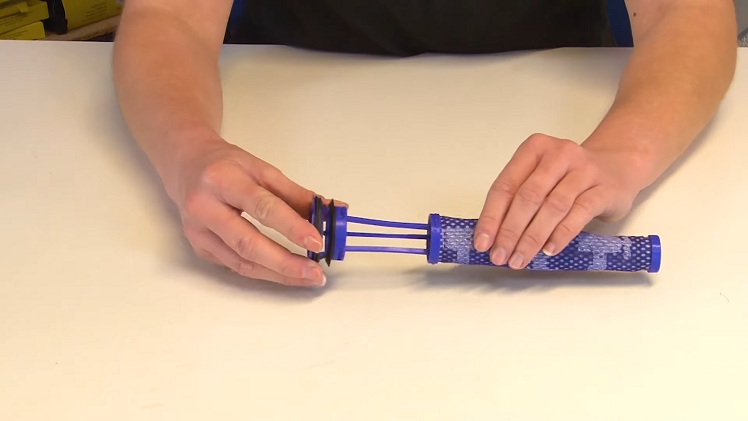
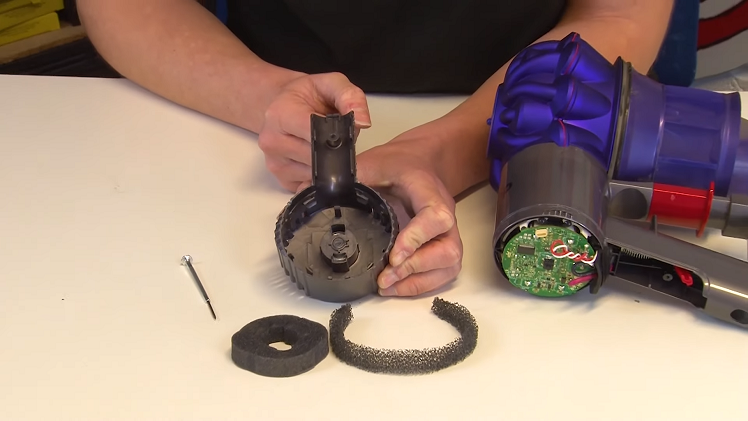
The first hidden part to clean is inside the main filter itself. You can clean this filter by rinsing it under running water to remove any dust or debris. However, many people overlook cleaning the inside of the filter as well as the outside. To get to the inside of the main filter, you'll first need to remove the outer part from the frame. You can do this by unclipping the catches that go all the way around at the top of the filter. This can be a little tricky, so you can use a flat blade screwdriver to carefully prise them free.

Once you've released the clips, you can go ahead and slide the filter off of the interior frame.
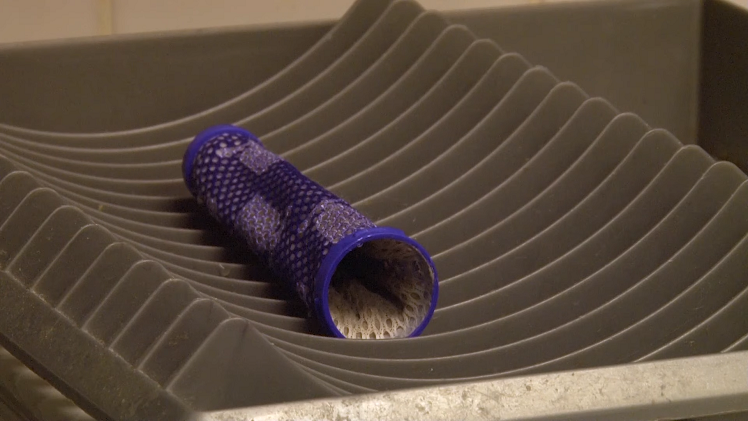
Step 2: Clean the inside of the filter
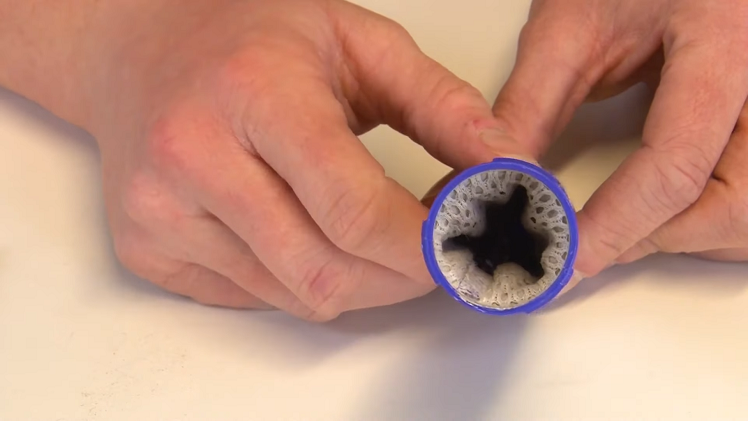
The inside of the filter may be full of dust or debris. If there are large clumps of debris inside the filter, you can simply reach inside and remove these with your fingers.
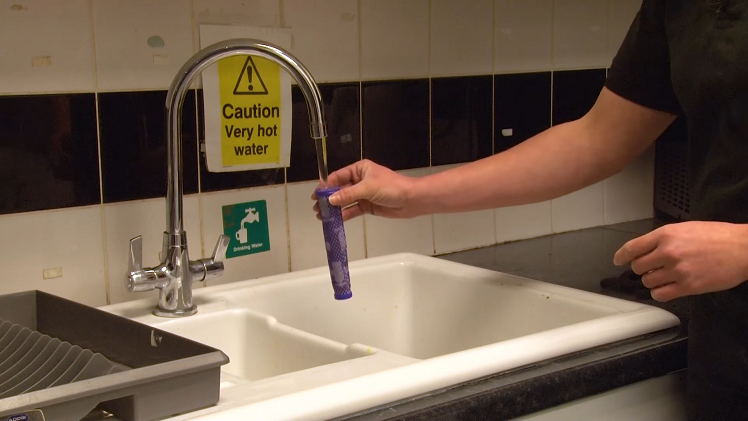
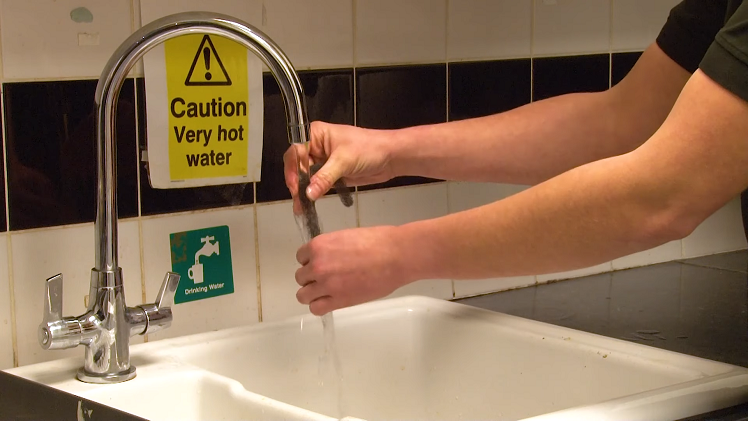
With the dust and debris removed by hand, make sure your filter can be cleaned with water. If so, rinse the filter under running water and make sure it's completely clear. Remember not to use any cleaning products or chemicals as you clean your filter, as they could cause damage.
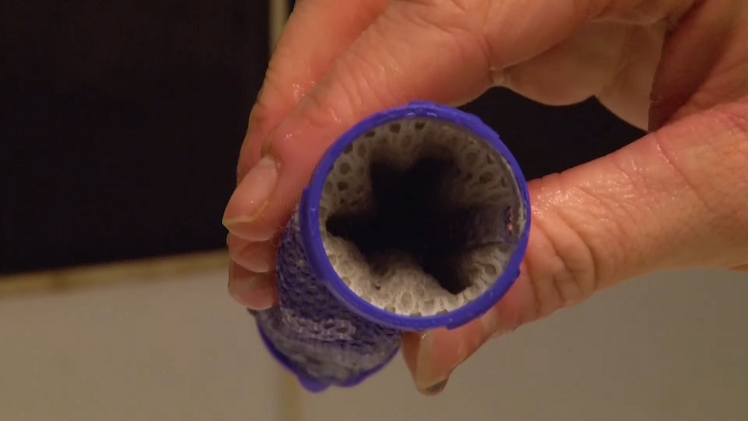
Once you've finished cleaning your filter, you'll want to make sure that you can see through it and that there's no dirt left inside.
Leave your filter to dry for at least 24 hours or until it's completely dry. Don't use any appliances such as a hairdryer to help dry your filter, as this could also cause damage.
Step 3: Reassemble and refit the filter
Once fully dry, you can reassemble your main filter by slotting it back over the frame, making sure all the catches are secure as you do so.
You can then return the filter to the vacuum cleaner by slotting it back inside.
The motor head filters
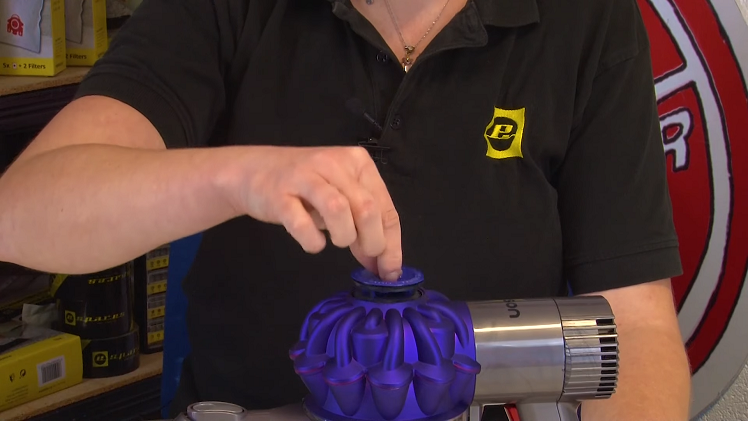
Step 1: Access the motor filters
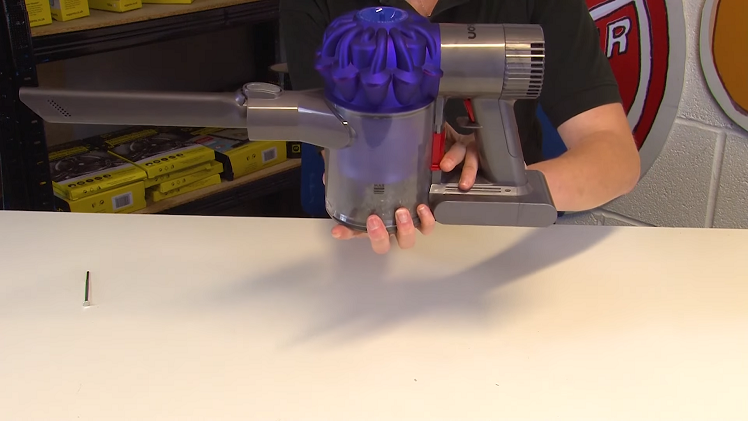
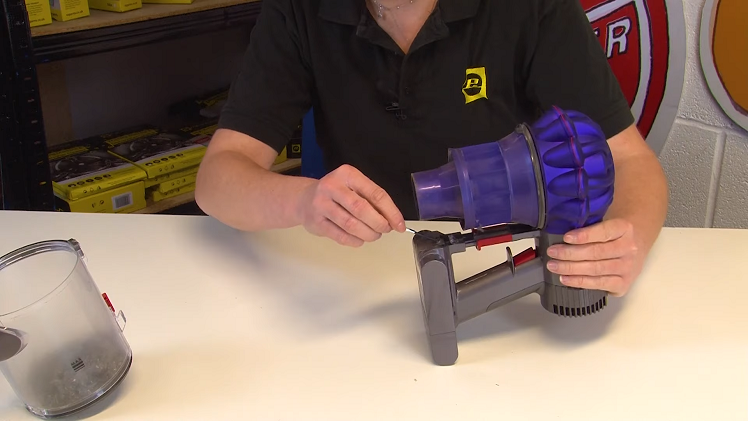
The next filters, which are the motor filters, are a bit more hidden than the main filter and can be found at the back of the motor head. To access these filters, you'll first need to remove the bin and the battery. To remove the bin, push down the red catch whilst holding the bottom of the bin to prevent dust from spilling out. You can then pull the bin down and off the vacuum cleaner.
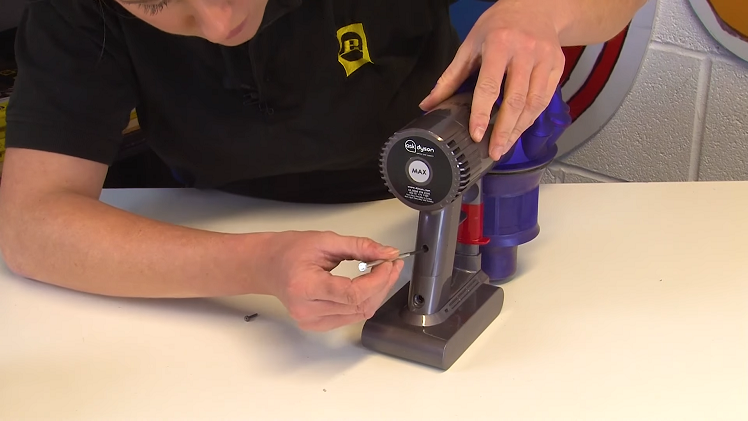
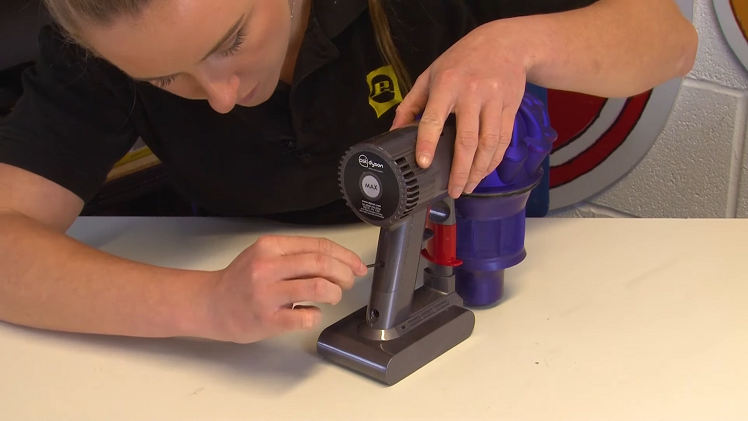
Using a small screwdriver, you'll next need to remove two screws to remove the battery. One of these is the screw that can be found at the bottom of the inner corner of the vacuum cleaner handle, as pictured below.
The second screw to remove is the upper screw on the back side of the handle.
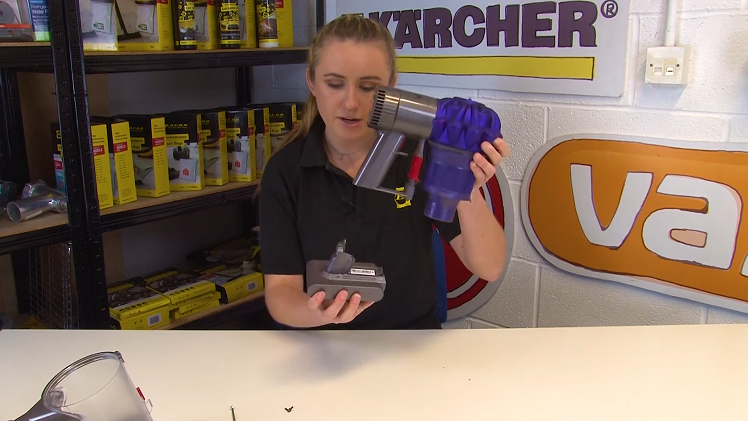
With both screws removed, you will be able to simply pull the battery off the vacuum. If you ever find that your battery is faulty and needs replacing entirely, you can follow our guide on how to do this here.
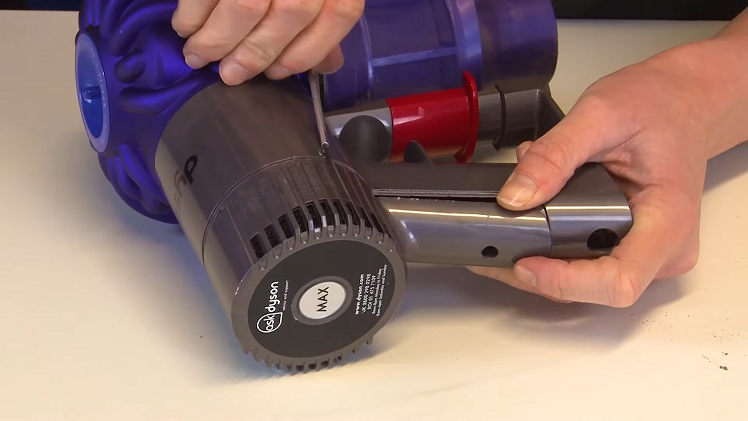
Then, using a small flat blade screwdriver, gently pry away the back of the motorhead by releasing it all the way around.
Step 2: Clean the motor filters
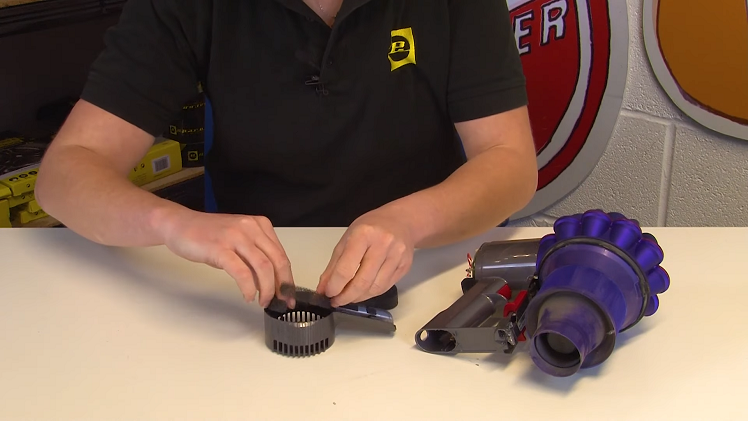
With the back of the motorhead released, you should now be able to see the two filters inside, which you can remove by hand. These filters gather dust and dirt, and so they will also need to be cleaned.
First, remove any excess dust or dirt from these filters by hand. If they can be cleaned with water, rinse them without using any cleaning chemicals or products.
Once clean, you can leave the filters to dry. Again, do not use any appliances to help dry these filters, but instead leave them to air dry naturally until they are completely dry.

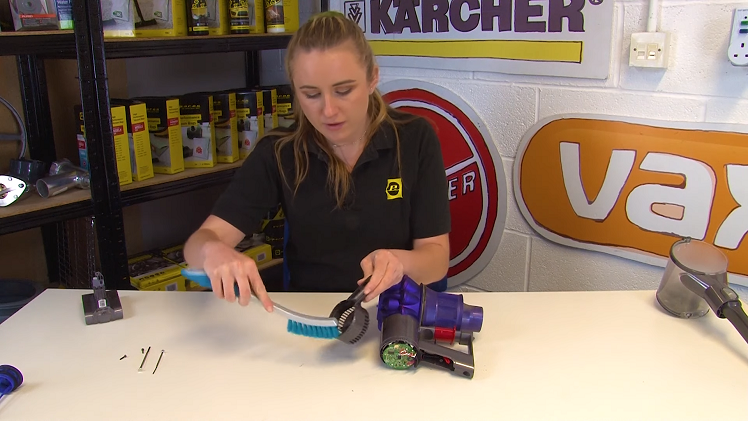
Using a dry brush, you can also brush away any dust or debris that might have collected inside the back of the motor head. You can also brush the outside of the motor head to be extra thorough.
Step 3: Reassemble and refit the filters
Once the filters are completely dry, you can place them back inside the motor head and start reassembling your vacuum cleaner.
Refit the back of the motorhead by slotting it back onto the vacuum cleaner and returning the two screws you removed earlier.
You can then slot the bin back onto the vacuum cleaner until you hear it click into place.

So remember, next time you give your vacuum a clean, don't let these hidden parts fall by the wayside! By thoroughly cleaning all of the necessary parts and filters, your vacuum cleaner will perform better and keep on delivering the best results.
While you're here, it's always handy to familiarise yourself with any potential faults your vacuum cleaner may run into. If your Dyson handheld stick vacuum won't turn on, for example, there's a range of potential issues that could be the cause, with dirty filters being just one of them. Head over to our article on what to check if your Dyson handheld stick vacuum won't turn on and get yourself prepared to fix your vacuum next time it goes on the blink!
Before you go, don't forget to also sign up to our mailing list below for future appliance maintenance advice, repair guides, exclusive discounts and all other things eSpares.


